
Design & Layout Guidelines
A little planning helps your book look its best once it is printed, trimmed and bound. Start by choosing how you would like to design it.
Use our free Online Creator
Our recommended starting point. The Studio22 Online Creator provides product templates and layout guides to help you design within the printing and binding requirements of your chosen book.
You should still check your text, images, page order and placement before submitting.
Use your own software
You are welcome to design in your preferred software. Follow the file requirements and templates for your selected product: Coffee Table Books and Premium Albums have different submission requirements.
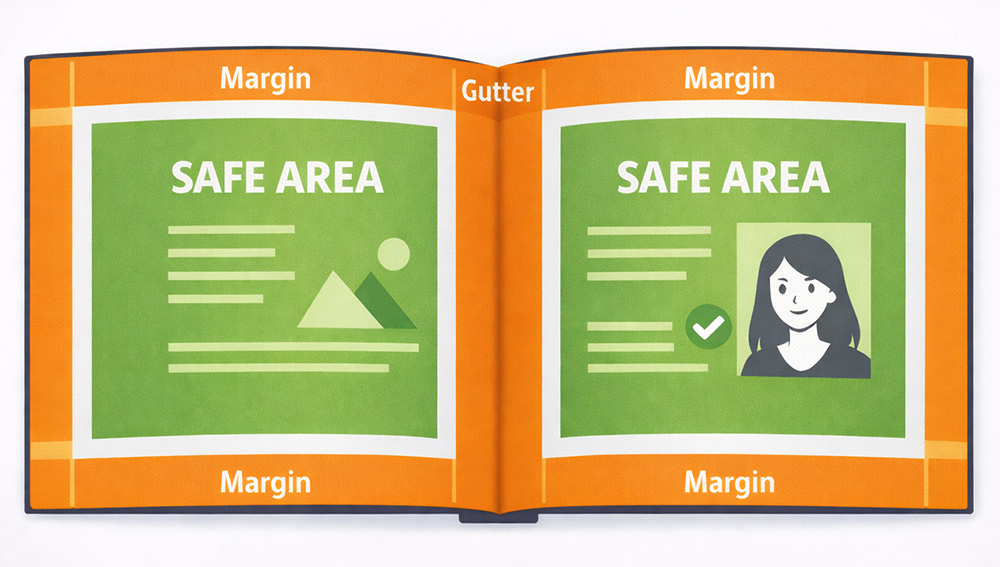
Safe layout: page edges, margins and binding
Keep important details away from the edges. Leave breathing space around text, faces, logos and other essential content. Use the safe areas shown in the template for your product.
Allow for the binding area. The gutter is the area where facing pages meet. In bound books, details near the spine can become difficult to see. Even in a lay-flat album, avoid placing text or important facial details directly across the centre fold.
Bleed and safe areas serve different purposes. Bleed extends an image or background beyond the finished trim edge where required. Safe areas keep important content away from trimming and binding. Follow your product’s instructions before adding bleed or changing page dimensions.
Use the correct cover template. Cover requirements differ from interior pages. Check the template for wrapping, spine placement and safe areas before designing your cover.